
This step-by-step guide will provide you the key information that you need to consider when upgrading your Veeam Data Platform Installations.
Upgrade Sequence
The upgrade in the following specific order: (depending on the products
- Veeam ONE
- Veeam Backup Enterprise Manager
- Veeam Backup and Replication
- Veeam Agents
- Veeam Plugins for Oracle RMAN & SAP HANA
- Veeam Recovery Orchestrator
Identify the Upgrade Path
KB2053: Veeam Backup & Replication Upgrade Paths
It is essential to upgrade your current installation through a recommended and supported path, to go for the latest version 12.2 you need to be running at minimum v11a as such anything earlier v11, or v10 you need first to go for v12.1
How to Upgrade Veeam Backup & Replication: A Step-by-Step Guide
Upgrading Veeam Backup & Replication ensures you have the latest features, improvements, and security updates. Follow this step-by-step guide to Performing the upgrade your Veeam environment smoothly.
Step 1: Backup Configuration
Before starting the upgrade, ensure you have a recent configuration backup. This is crucial in case you need to roll back.
Here you need to have a roll back plan, you may have the ability to create a VM snapshot, if the VBR server along with its database are running on the same server, if not you need to do this after you stop the services. to ensure consistency.
Step 2: Disable Jobs
Disable any running or scheduled backup jobs to prevent interruptions during the upgrade.
Step 3: Performing the Upgrade
Download the latest Veeam Backup & Replication ISO from the Veeam website.
Possibly you would require a reboot.
Performing the Upgrade:
– Download the Update: Obtain the Veeam 12.2 update “KB4600: Release Information for Veeam Backup & Replication 12.2” from the official Veeam website or your Veeam account portal. The ISO file can also be accessed from Discover the Latest Version of Veeam Solutions.
– Mount the ISO and Run Setup: Follow the on-screen instructions to install the update. The process typically involves stopping Veeam services, applying the update, and restarting them.
Follow these steps for the upgrade –
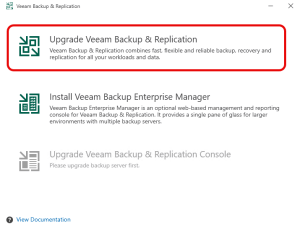
Once you mount the ISO file and run the SETUP.EXE file, you are presented with the Upgrade screen; click Upgrade.

You will then select the component to upgrade so be sure to update according to earlier mentioned sequence, but for our purposes the VBR server installation. You will then accept the license agreement as well.

After accepting the license agreement, the installer will show you which components will be upgraded and from/to which versions. if you have multiple components, or remote components I always like to uncheck the update remote components automatically, Next, you will be prompted to browse or sign in for your license file—if you are already using a license, the install will pick it up automatically for you.


After verifying the license, click Next.
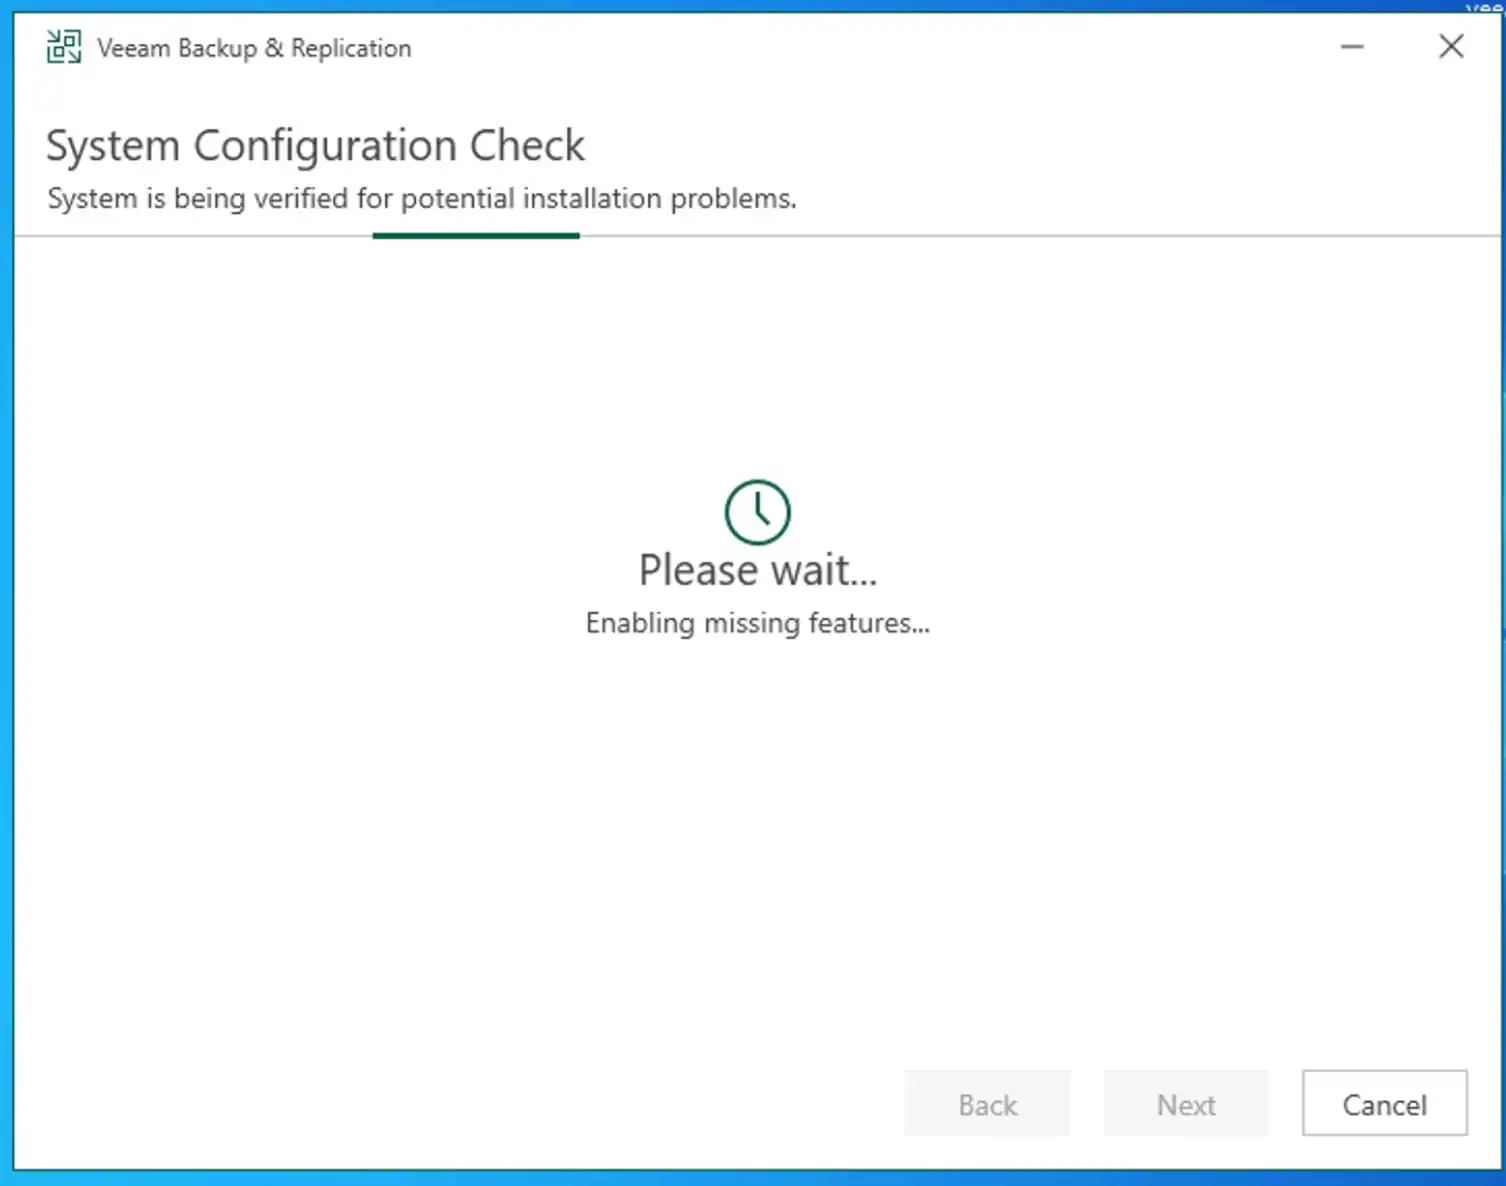
Shortly, the system will perform some System Configuration Check.
Note: This will ensure there is enough disk space and that the backup server to be upgraded is installed on the supported operating system etc.
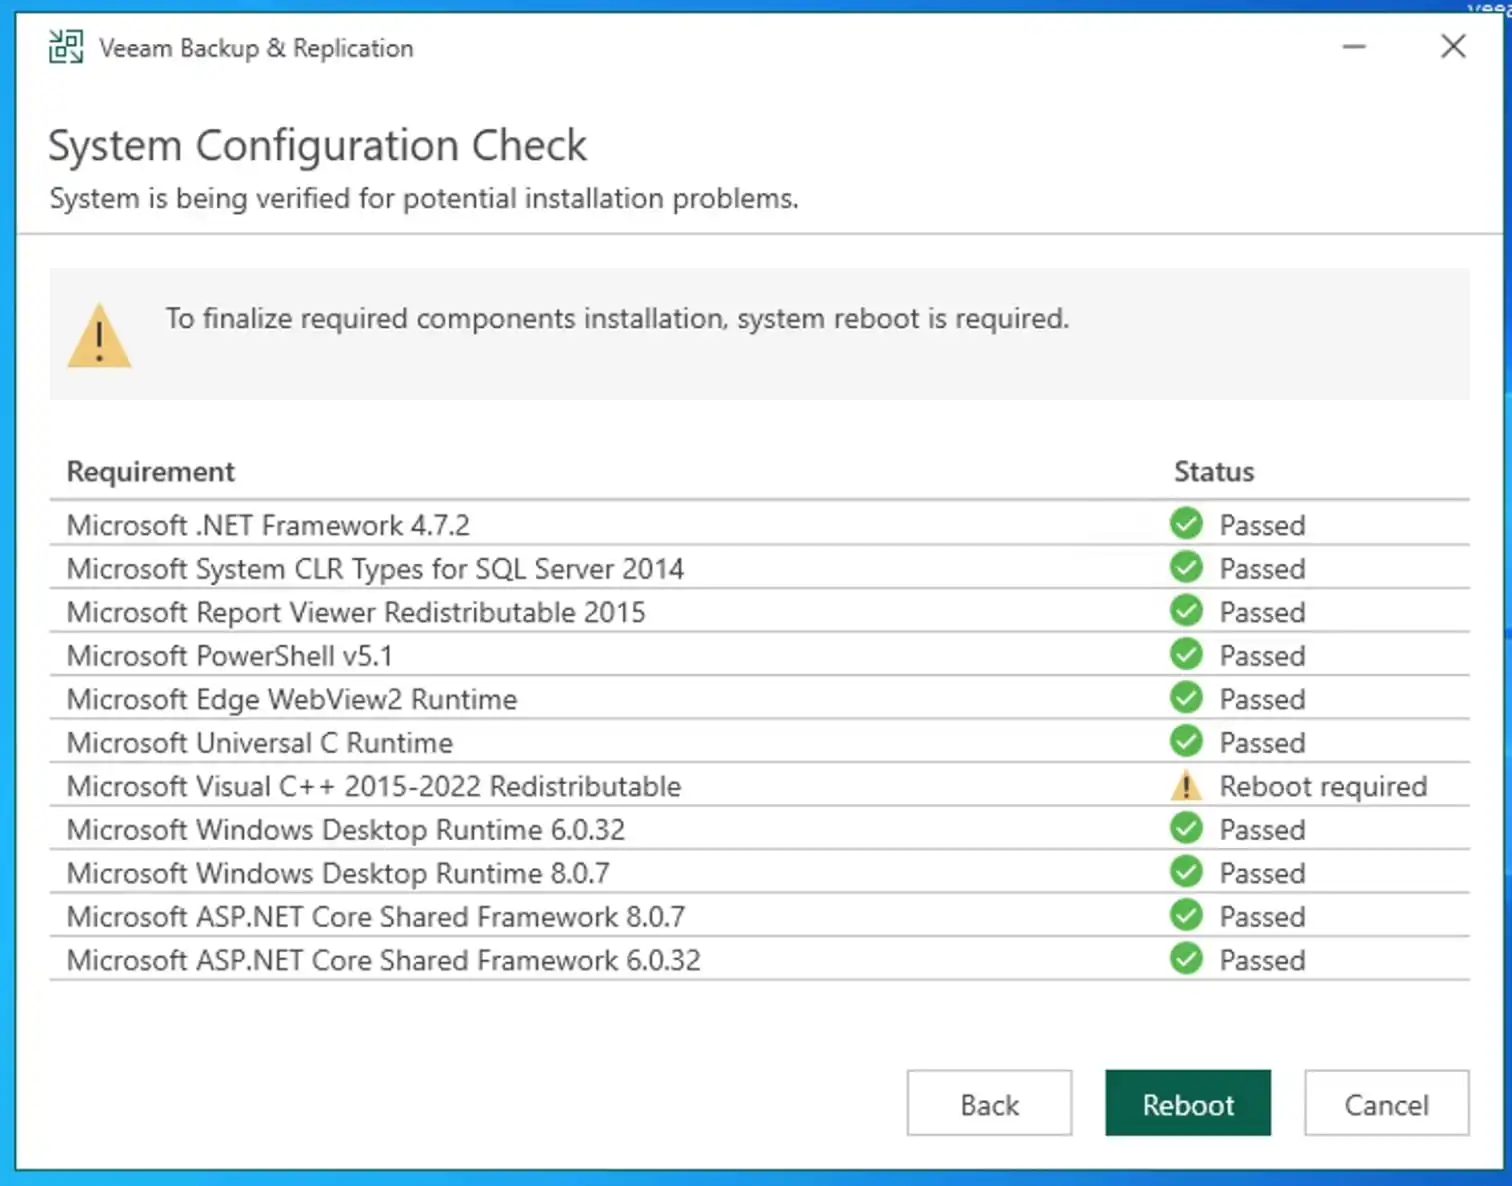
As mentioned earlier, a reboot is required. Please proceed and have your VBR restarted. [Possibly here a reboot will be needed since it is patching Microsoft Visual C++ Redistributable as well].
You are then shown the Service Account step and, after that, the Database to use/upgrade, including a warning about it being upgraded. – if a service account is used add the password.


After you select Yes on the database upgrade the final screen to start the upgrade process is presented.
The system performs the pre-upgrade.

Read the reported Compatibility Issues carefully then click Next. Make sure reported issues don’t have an impact in the upgrade procedure.
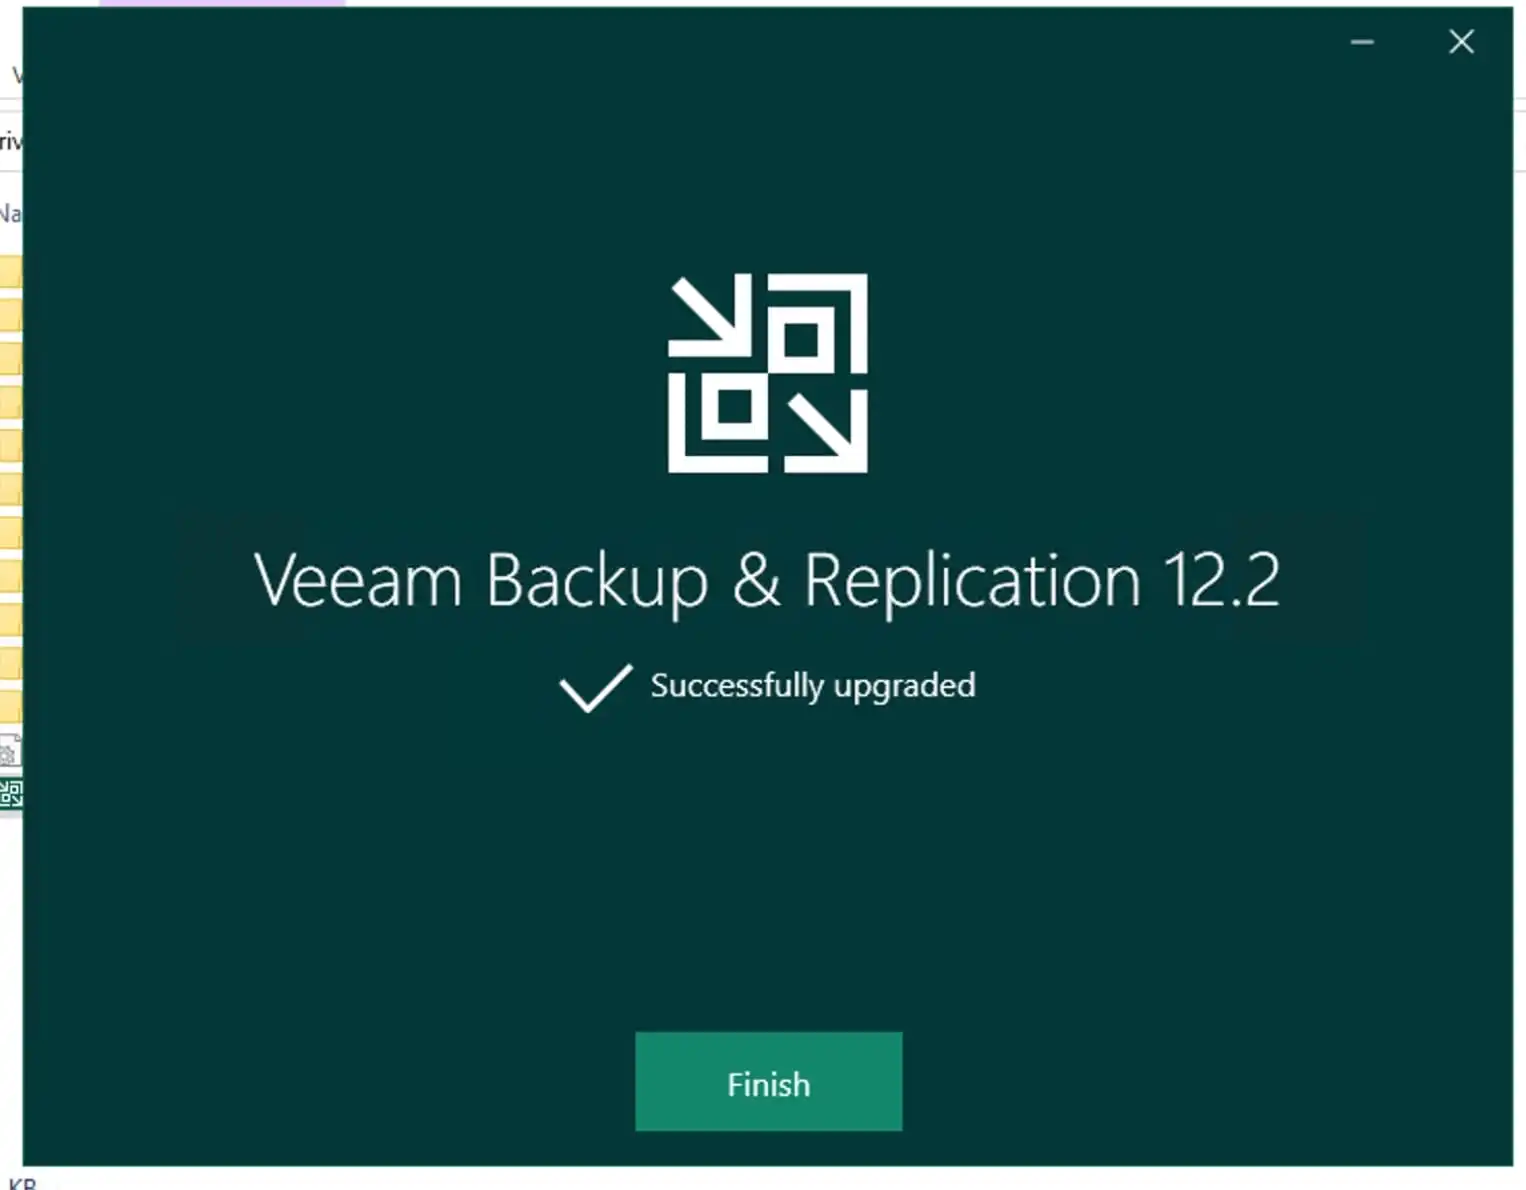
You will click the Upgrade button to begin, and during the installation, you see tips on the latest enhancements, etc. Once completed, you get the same dialog as the first one, except you click Finish to end the upgrade process.

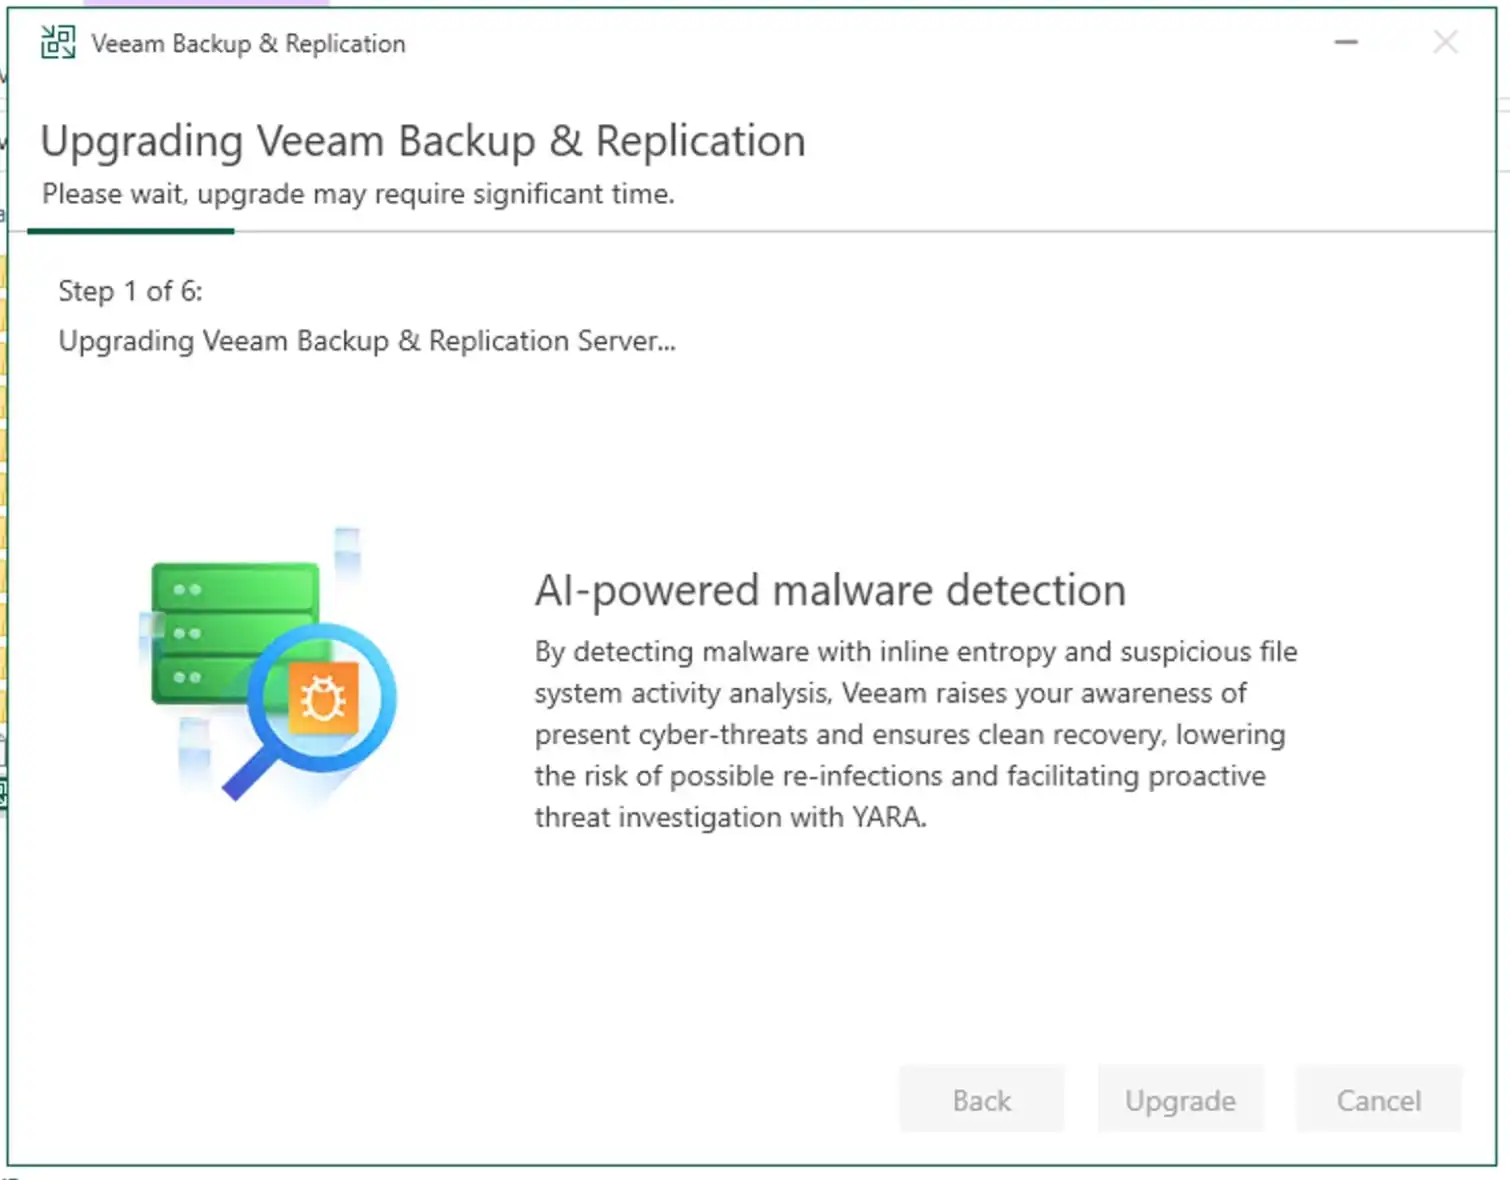
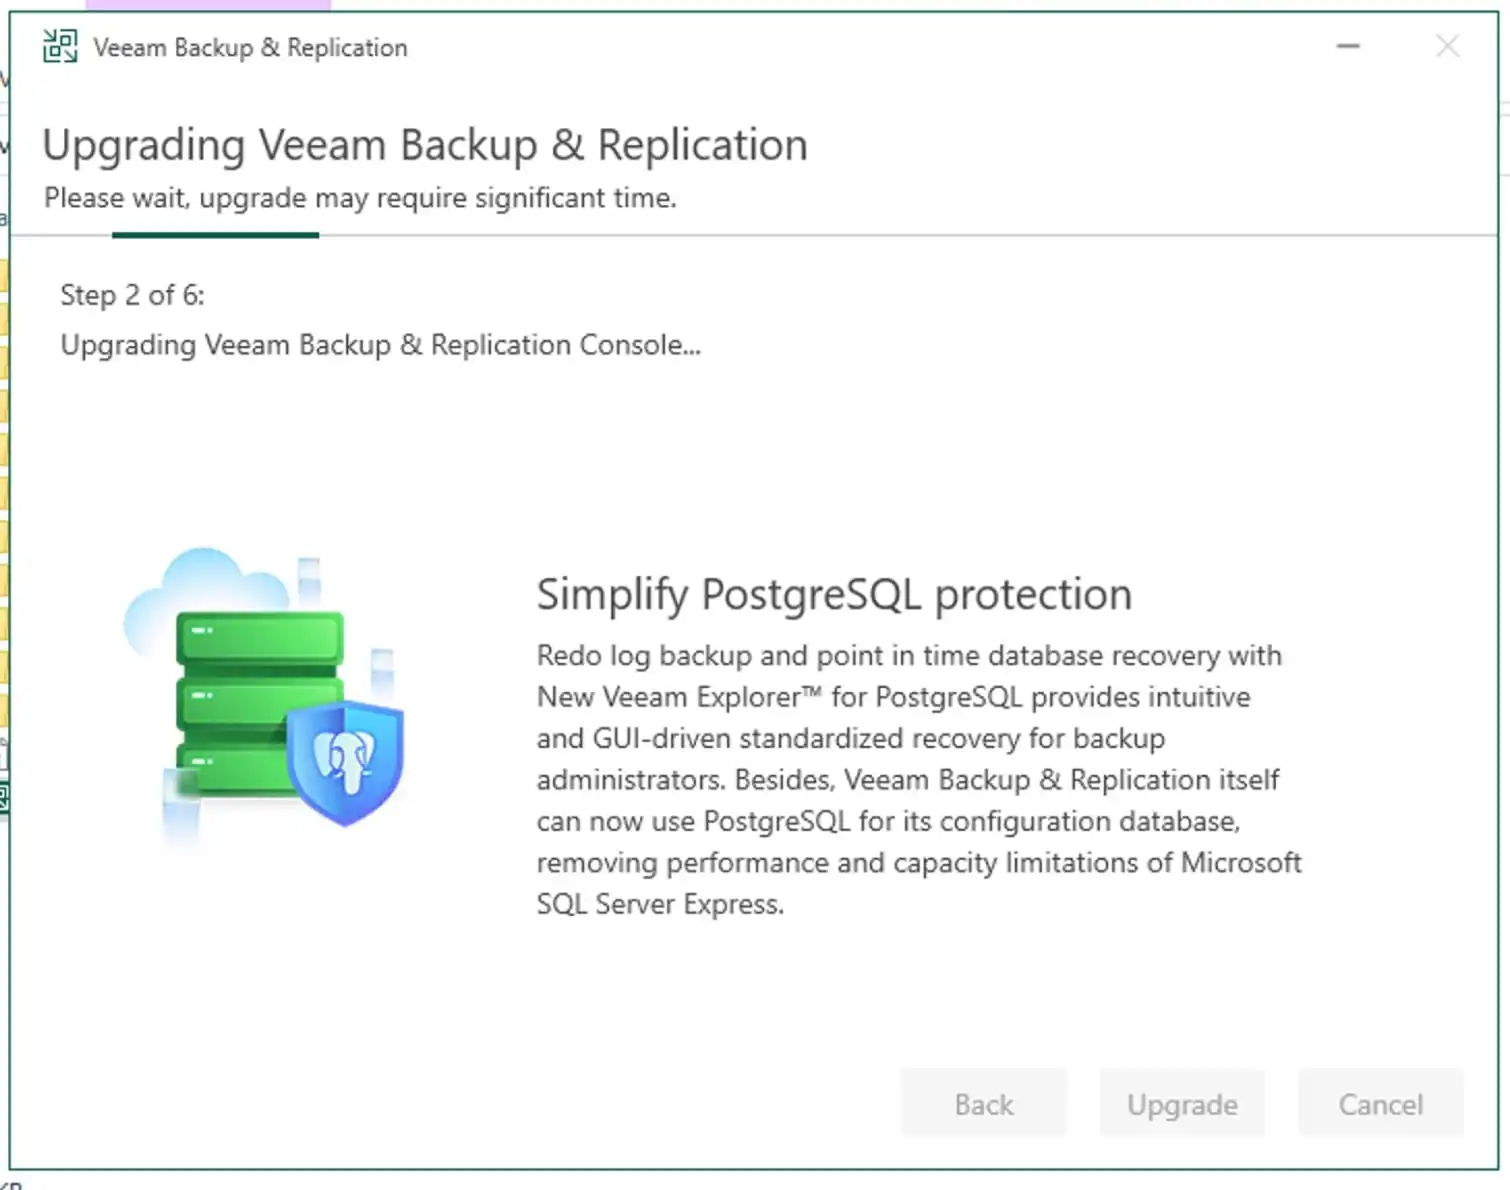
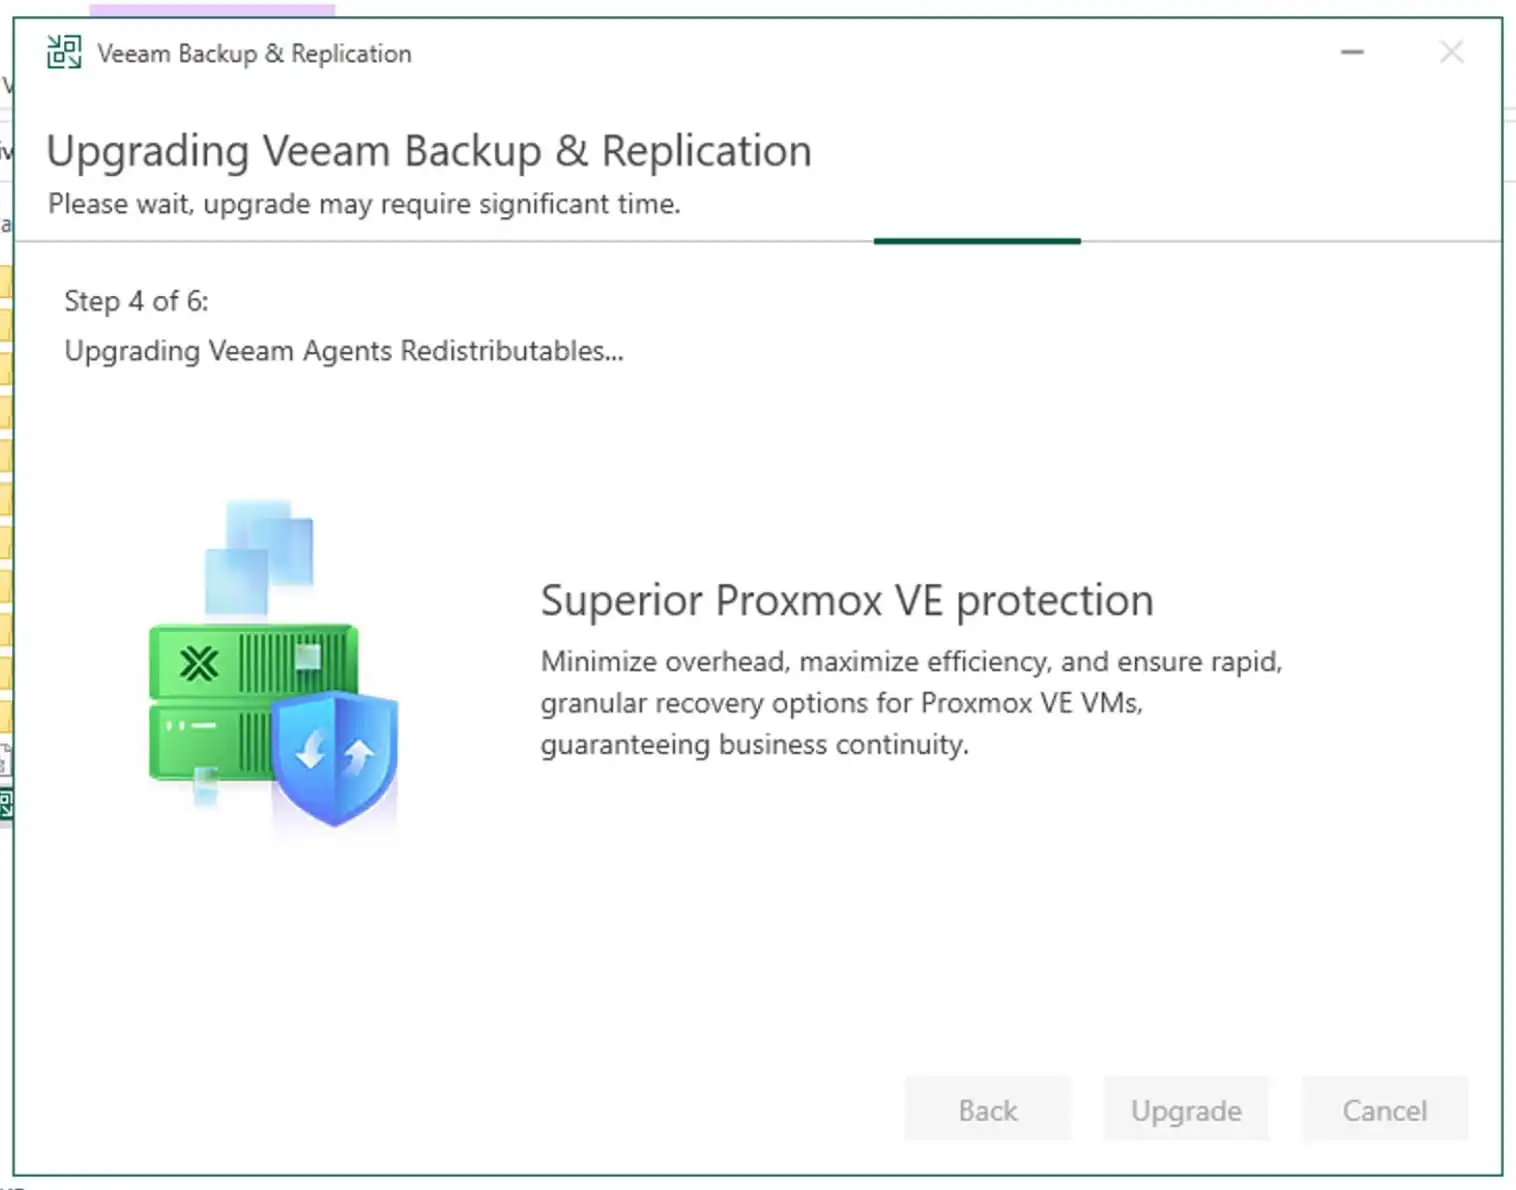
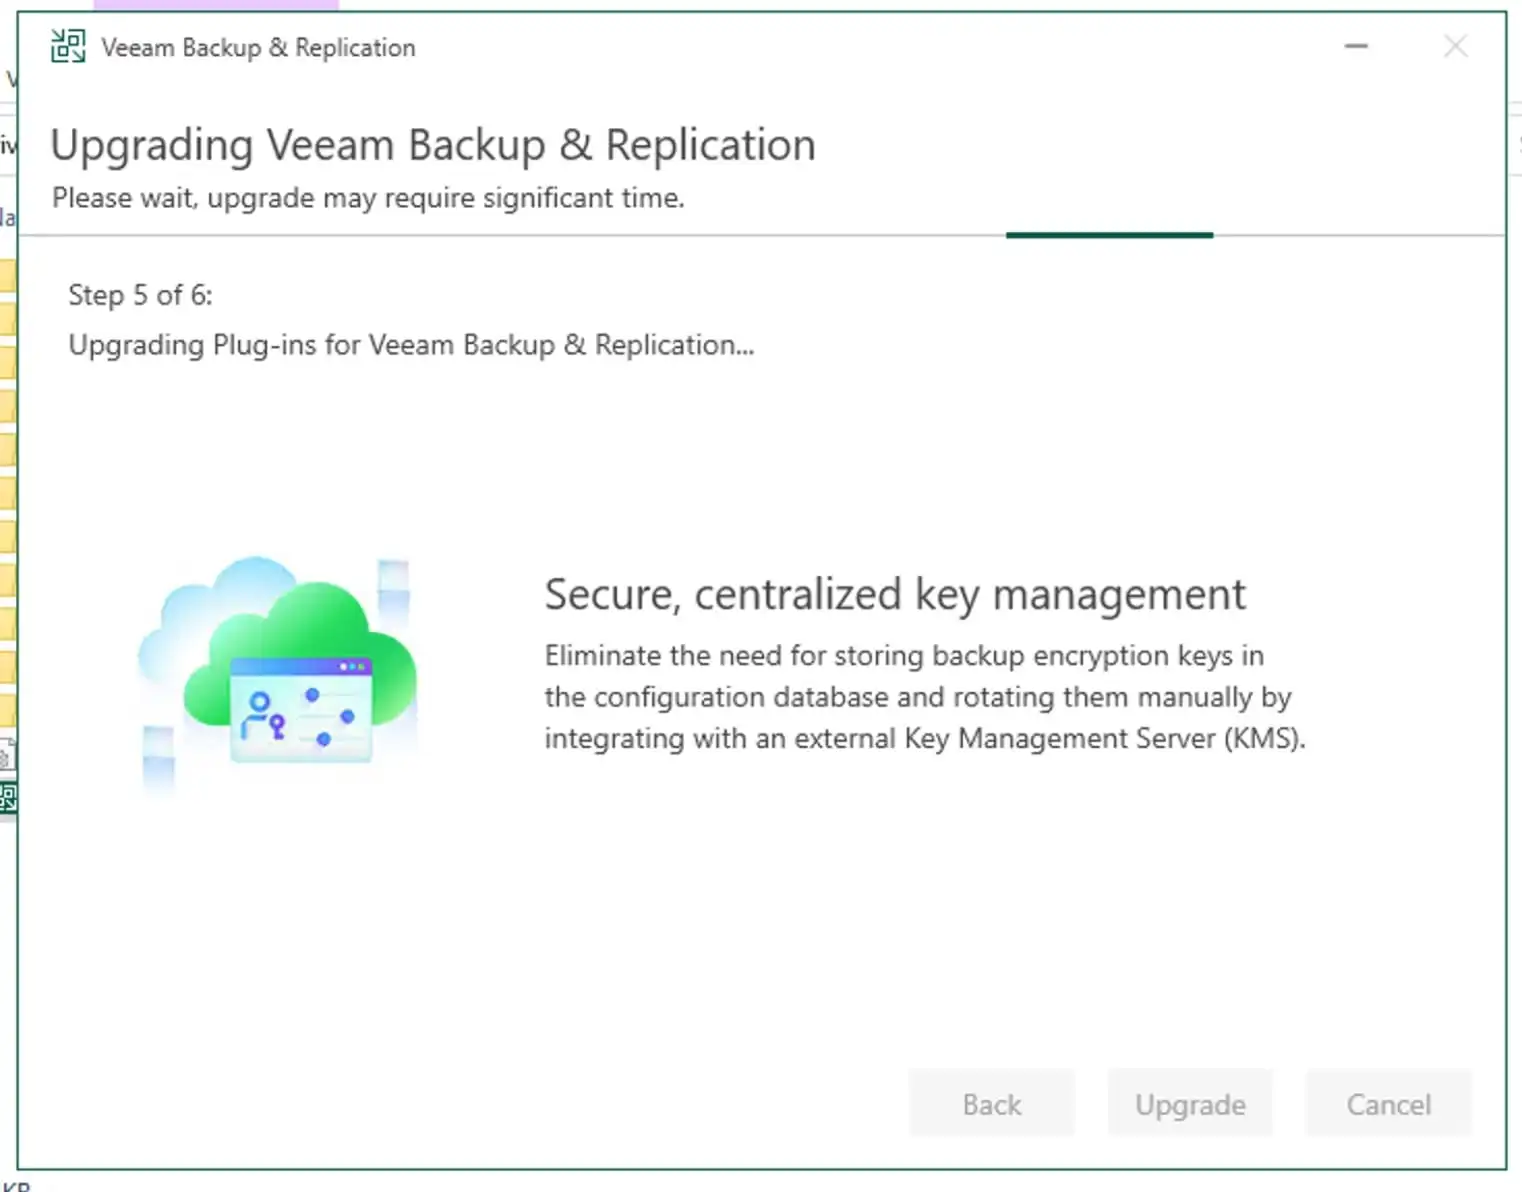
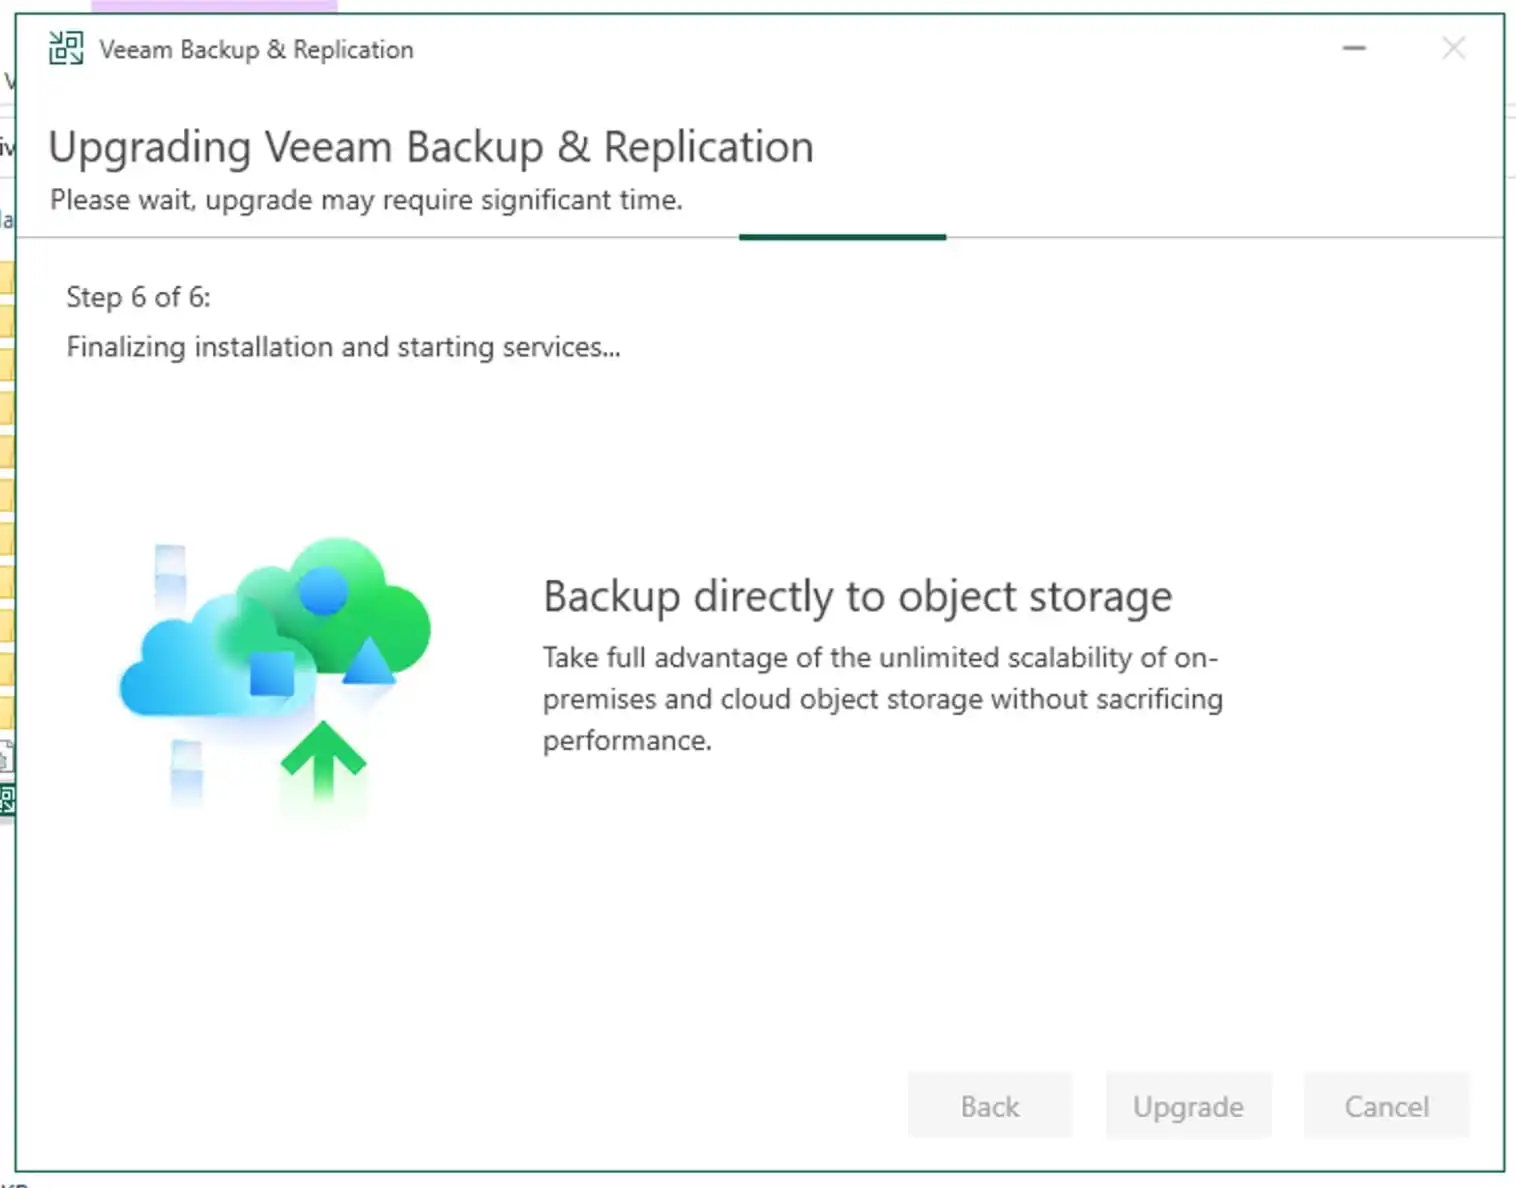
The upgrade takes place. The entire process is composed by six steps.
As you can see below, the upgrade is currently in progress and at this step, the VBR server is being upgraded.
Now that the upgrade is complete, click Finish to exit the wizard.
Step 4: Post Upgrade.
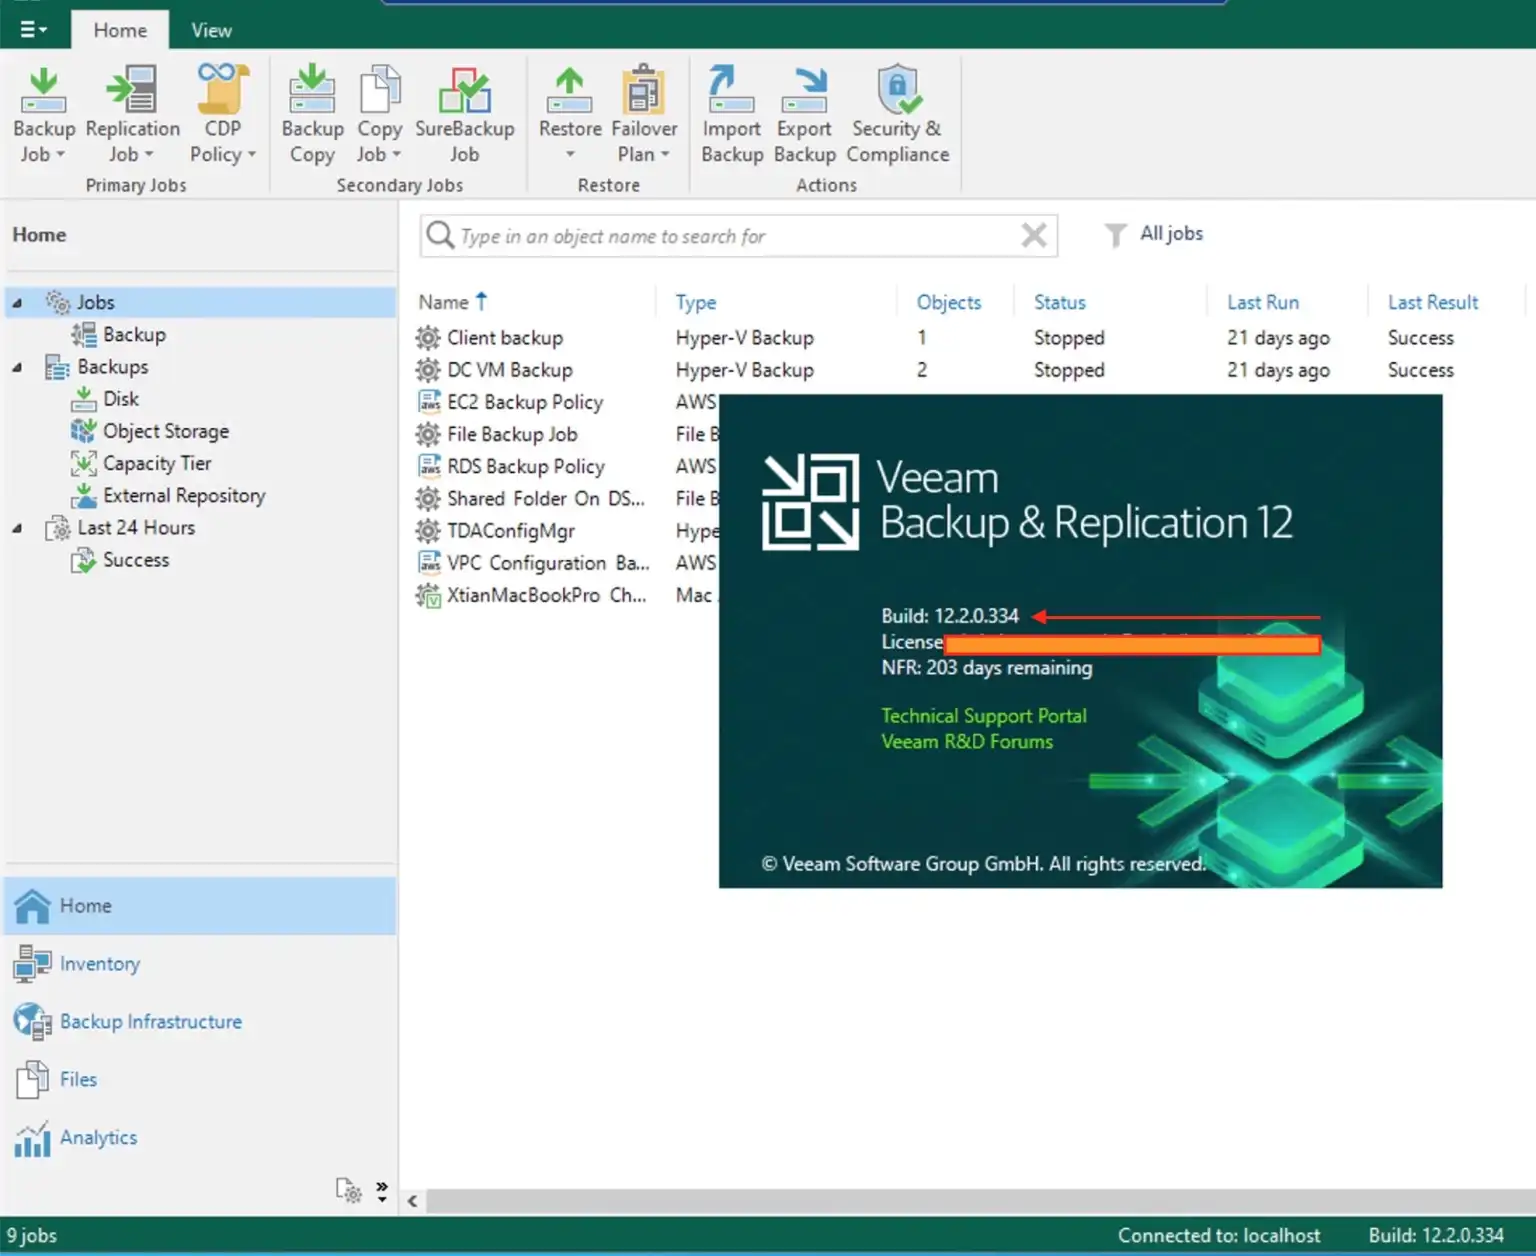
– Verify the Upgrade: To ensure the upgrade was successful, verify the version number and ensure all services are running correctly.
To verify the upgrade and version number. Click on Help from the Hamburger Menu and select “Help” and then “About”.
– Re-Enable any disabled jobs: Re-enable any backup jobs that were disabled before the upgrade.
– Test Your Backups: Perform test backups and restores to confirm everything functions as expected. I cannot stress this enough to ensure you test your backups after the upgrade to ensure everything works as expected and you can troubleshoot any potential problems.
Step 12: Update Agents
If you have Veeam Agents deployed, ensure they are updated to the latest version compatible with the new Veeam Backup & Replication version.
For more detailed instructions, you can refer to the Veeam User Guide.
Leave a Reply